
Introducing the Marlene Beret ~A Style Classic for You to Sew
- Tara Deighton

- Oct 14, 2022
- 3 min read
Whatever your personal style, whatever your age, whatever the season, a beret is just about the most perfect thing you can put on your head.

I love my Vintage Tassel Beret and love knitting them {please see my shop! I knitted so many, I'm having to sell them!} but sometimes you want to sew something quick, small and fabulous and so the Marlene beret was born.

Inspired by the starlets and fashionista's of the 1930's, the Marlene is a fully lined beret with a traditional stalk and band and is available in 3 sizes. You can download your PDF digital copy here and get sewing up versions of this style classic for your Autumn/Winter wardrobe.

Some notes on Sizing
Marlene comes in 3 sizes, a small {20"/51 cms }, Medium {22"/56 cms } or Large {24"/61 cms } but it's simple to size up to make a slightly more roomy beret. The pattern comes with a 1.5 cms seam allowance so if you want to achieve more of an XL fit, simply trim off 0.5 cms from the beret opening seam and sew the band into a round with a 1 cms seam allowance. When you sew the band to the beret, still sew with the 1.5 cms seam allowance as included.

Some notes on Materials
Whilst you have huge scope for your Marlene, there are a few guidelines to take into consideration when choosing your fabric!

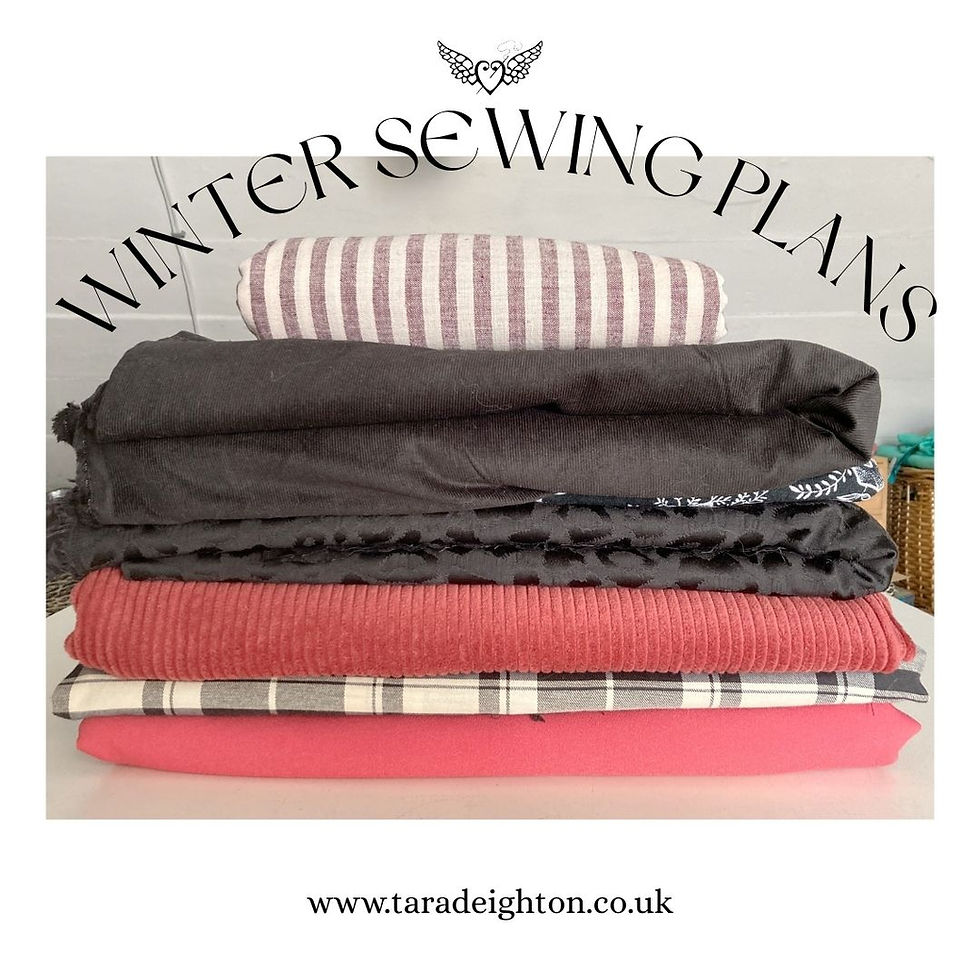
For the outer beret, I'd recommend a medium weight fabric that has some structure to it. You want your Marlene to keep it's shape when worn and something with a lot of drape just won't do that effectively. I think fabrics labelled as suitable for autumn/winter suiting will be good when buying online ~ it can be hard to tell the weight or density if the description is lacking! I've made my Marlene's in cotton velvet, corduroy, medium weight wools up to heavier weight wools and all have turned out beautifully! And if a fabric is a little thin, you could always add a backing layer of calico to add density to the structure.
Lining can be anything lightweight ~ silks, lawns, even rayons. The rule of thumb here is they must look pretty! I'd steer clear of acetates etc as these can cause static! Not a good look when removing your Marlene Beret!

To make life as easy as possible, I have filmed a very detailed Step by Step Tutorial for the Marlene Beret, which you can find here! If you've never sewn a lined hat or beret before then my simple visual guide will help you through the process and I've included chapters for this free online tutorial, so you can easily watch the bits that you need help with as and when you need the help! And if you simply want to sew ~a~long with me, then the video will help with that too!

The Beret is such a chic and classic style hero, fitting in perfectly to anyone's wardrobe and giving you a huge range of fabric and customisation options {but more on customisation in a future post!}. The Marlene Beret is a simple and satisfying sew that can be sewn in under 2 hours, so perfect for last minute outfit ideas! Or even gift ideas! What a lovely thoughtful gift ~ a handmade Marlene Beret in your giftee's favourite colours and fabric! Even better with a pretty brooch clipped on!

I hope you have fabulous fun making the Marlene Beret should you purchase a copy! I've loved creating this sewing pattern and absolutely love the finished item ~ there's a huge stack of cut out Marlene's waiting to be sewn which I must go and do!
So, have a wonderful weekend wherever you are and let me know all about your Marlene Beret once you've sewn one!
Tara x


Comments